We use cookies to make your experience better. To comply with the new e-Privacy directive, we need to ask for your consent to set the cookies. Learn more.
Plastic Welding : The Process Explained
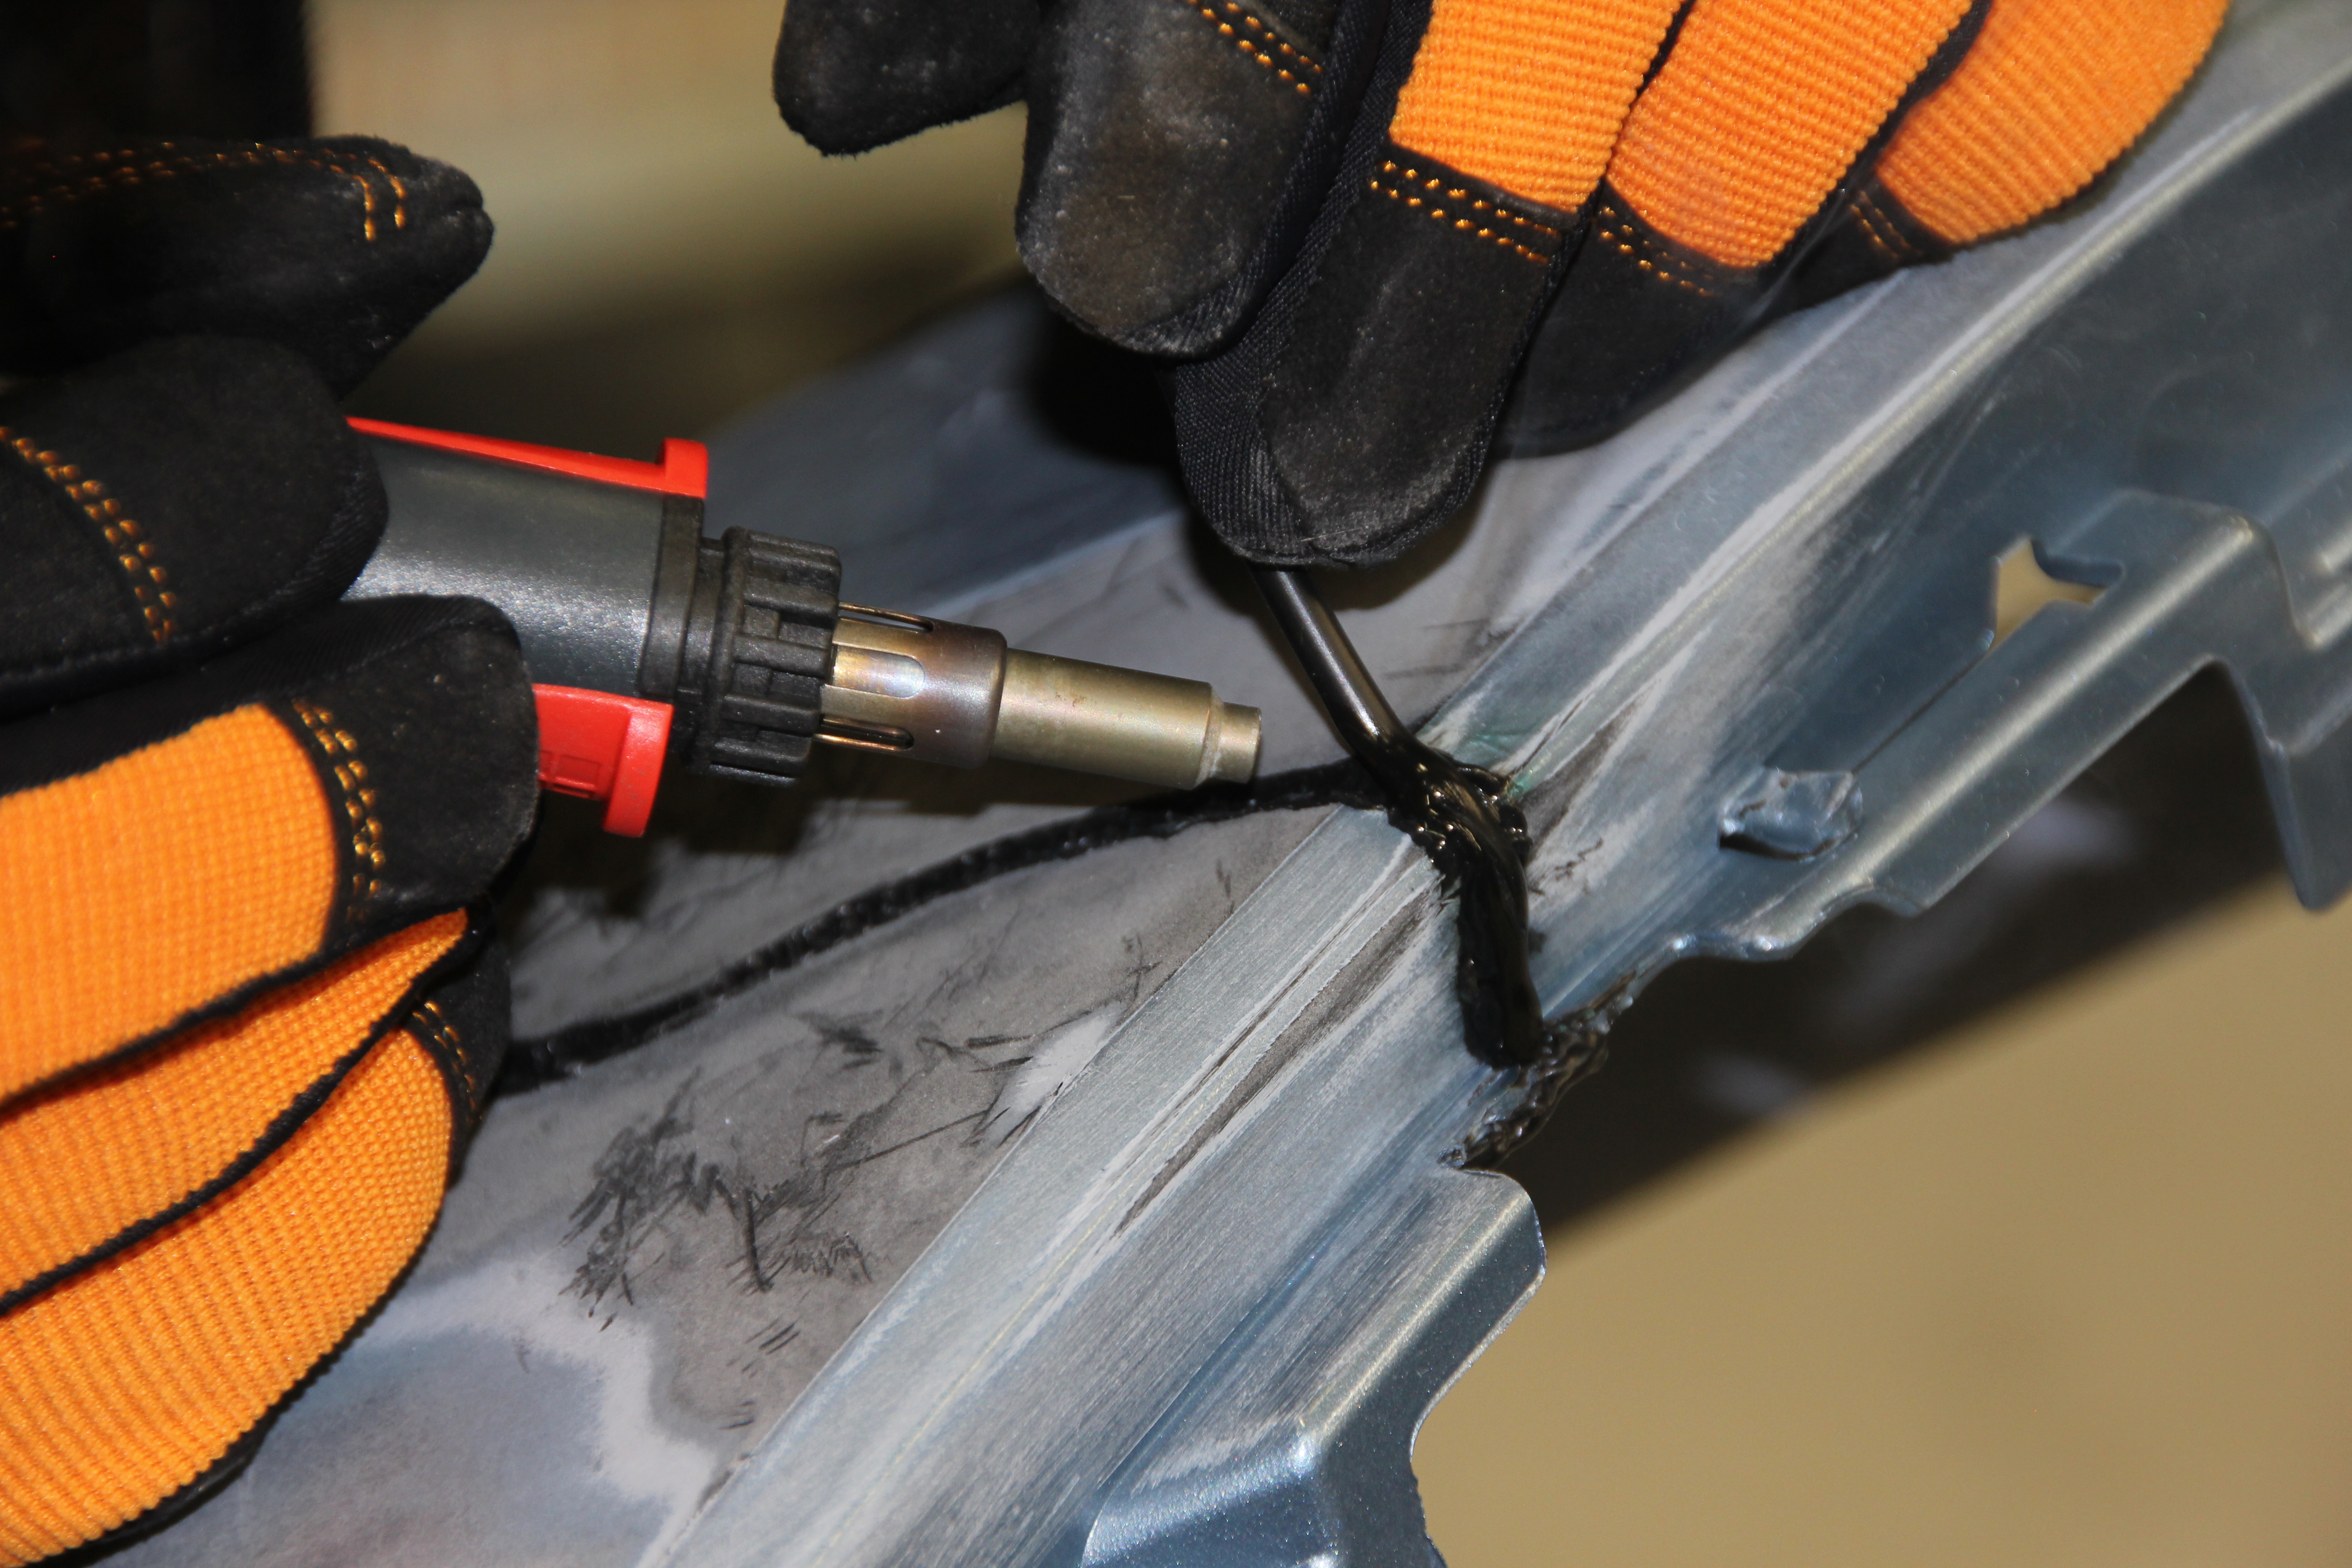
Plastic welding is the method of joining two pieces of plastic together using heat. This is similar to how metal is welded, but instead of melting the metal to join it, the heat is used to melt the plastic and fuse the two pieces together. A plastic filler rod is often used to bond the two damaged plastic pieces together.
Plastic welding is often used in manufacturing to join plastic parts together, such as in the production of automotive parts, pipes, and electronic components. It can also be used for repairing plastic objects, such as toys, household items, and even car bumpers.
Overall, plastic welding is a versatile and effective way to join plastic pieces together, and it has a wide range of applications in both industry and everyday life.
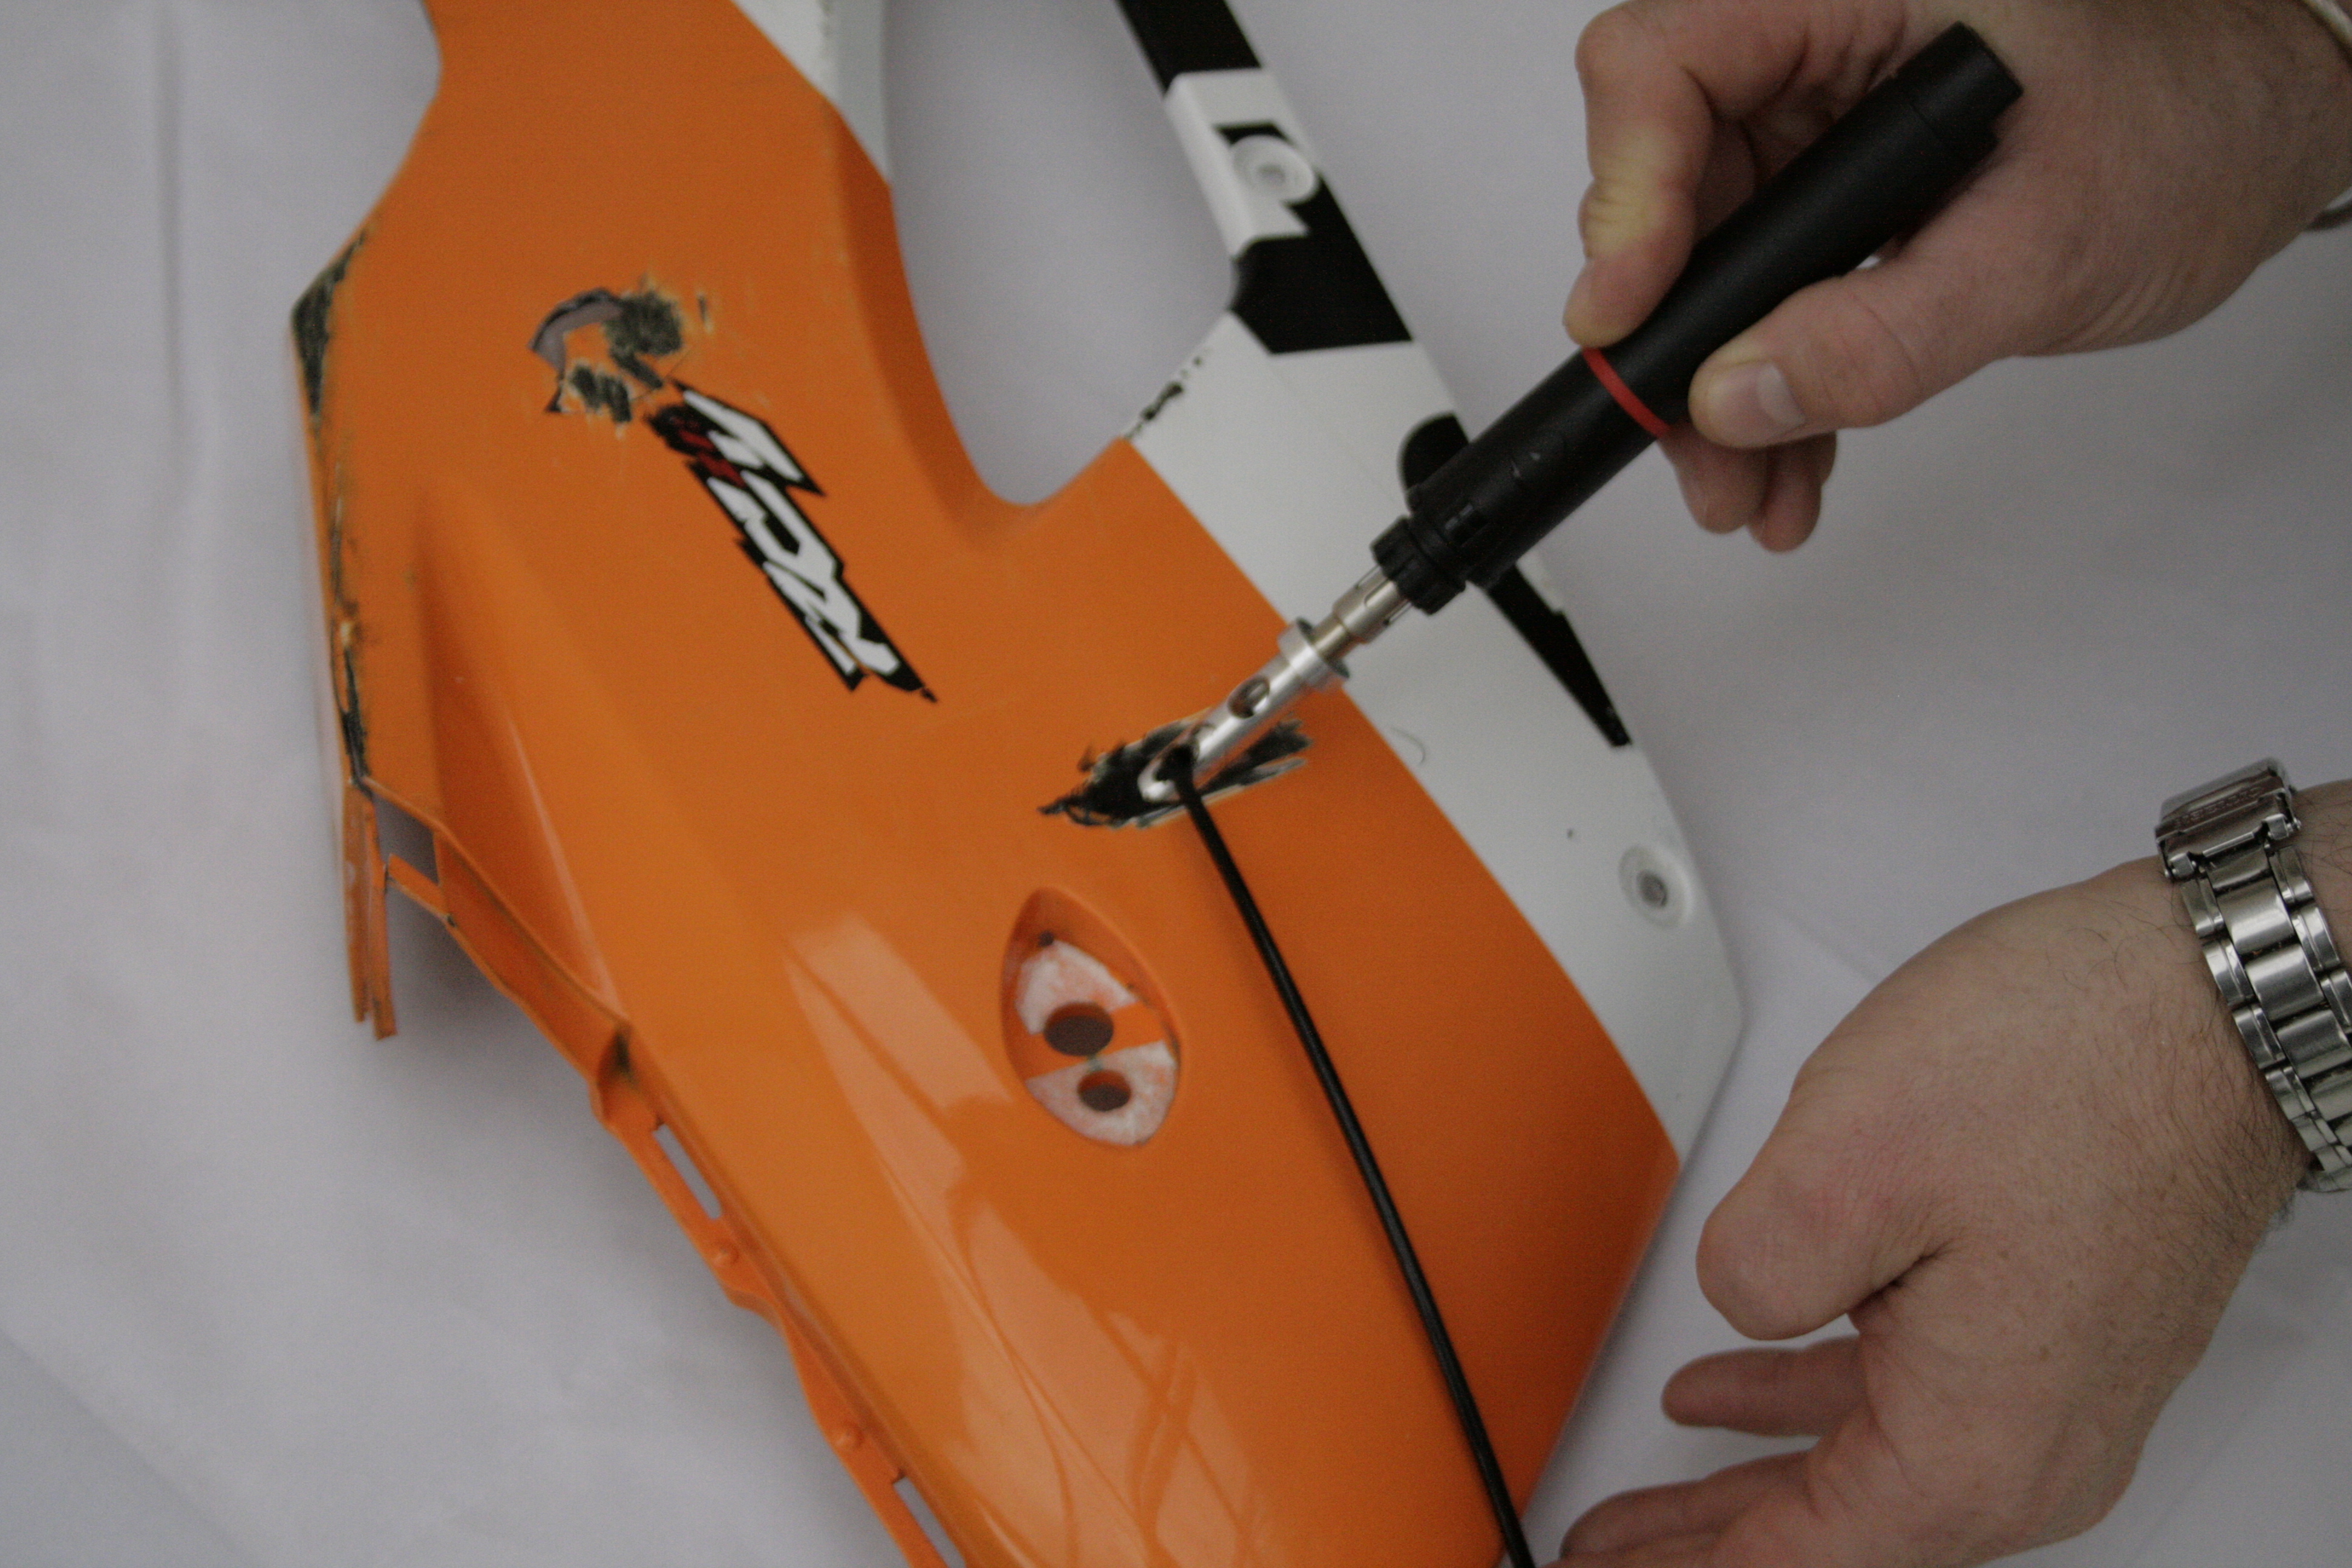
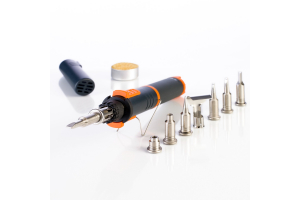
The Portasol Butane-powered plastic welding kit is a portable and convenient tool for plastic welding. Some repair examples include car bumpers and tabs, headlight clips, brackets, containers and storage tanks, plastic fairings and much more. Here is how the process of plastic welding using a butane-powered kit typically works:
So, how do you plastic weld?
Step 1: Gather the necessary materials and safety equipment. Before you begin, ensure you have the following items:
· Portasol Butane plastic welding tool.
· Plastic welding rods (compatible with the type of plastic you are working with)
· Safety goggles or glasses
· Heat-resistant gloves
· Adequate ventilation or a well-ventilated workspace
Step 2: Prepare the surfaces to be welded.
Clean the surfaces of the plastic parts you intend to weld. Remove any dirt, debris, or contaminants that may interfere with the welding process.
Step 3: Set up the butane plastic welding tool.
Make sure the butane plastic welding tool is filled with butane fuel according, following the instructions. Attach the appropriate nozzle or welding tip to the tool, depending on the job at hand. Ignite the tool and allow the tool to warm up for a few minutes until it reaches the desired operating temperature.
Depending on the type of repair needed, the welding technique may differ. Initially, it is recommended to create some tacks with the plastic welding tool to hold the pieces in place.
If you are unsure of what plastic the damaged object is made from, the universal repair rod that comes in the Portasol Plastic Welding Kit is the best option. Place the universal rod down on the crack or damaged area for repair. Use the tip to heat the topside of the rod, when heated, flip the rod upside down placing the heated part down into the crack / damaged area, then melt the reverse side and smooth over.
Another method can also be used for plastic repair. If you are aware of the material you are repairing, you can select a rod from the kit of the same material. Utilize the specially designed plastic welding tip and thread the rod through the angled hole in the tip, which will heat the plastic to melting point, and drag the tip along the crack or damaged area leaving a layer of melted plastic as the weld.it can be then smoothed out for aesthetic purposes.
Another method that can be used is pendulum welding. It is the slowest welding technique and is best for very confined spaces and short seams and repair work. Even heating of both plastic and welding rod is required using the hot blow tip, along with vertical orientation of the welding rod while laying down plastic on the crack or damaged area.
When the weld is complete, allow to cool for 10 minutes. Plastic is quick to cool so you won’t be waiting too long. Once cooled, begin sanding through the grits to get the desired finish.
With the constantly increasing use of plastics in todays world, being able to repair plastic is a valuable skill to have!
If you would like more information on the Plastic Welding kit, Following the link. Plastic Welding Kit, No. PP75
